


Your Custom Text Here
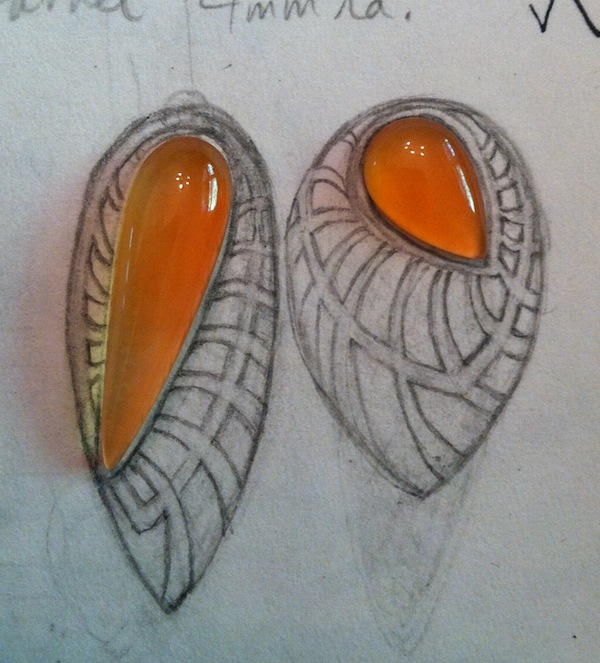
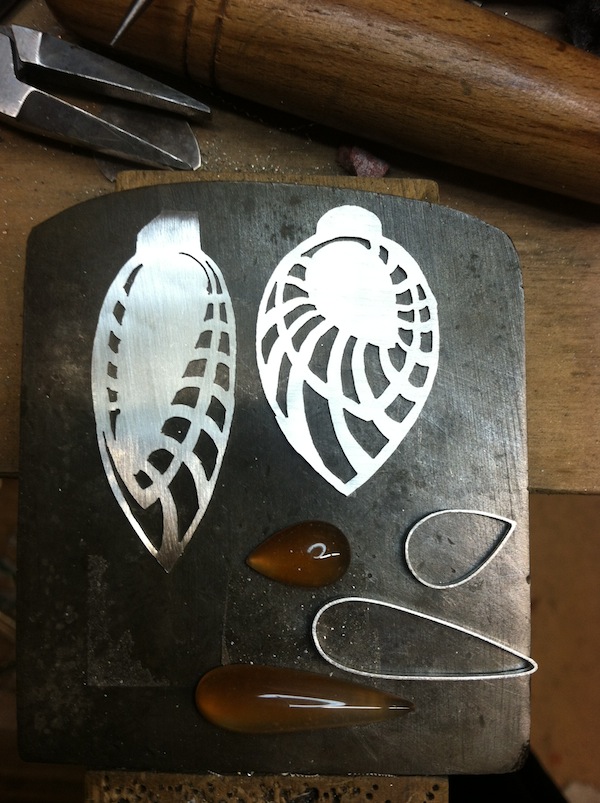
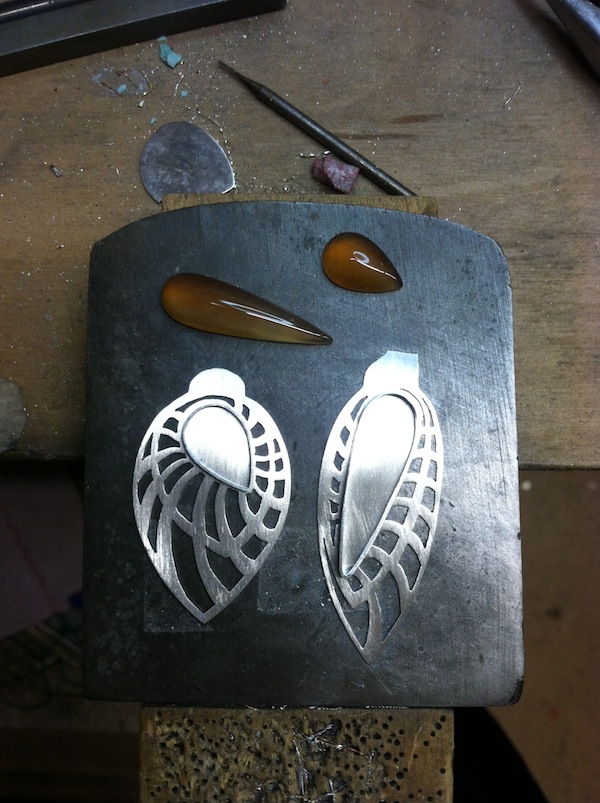
The design. It’s easier to have the stones first, but I do plenty of sketching and l hope to find the right stones to work with the design later. Here, I already had the carnelians. More rare carnelians tend toward a deeper reddish-orange, but I’m not a stone snob. I love the tangerine shade.
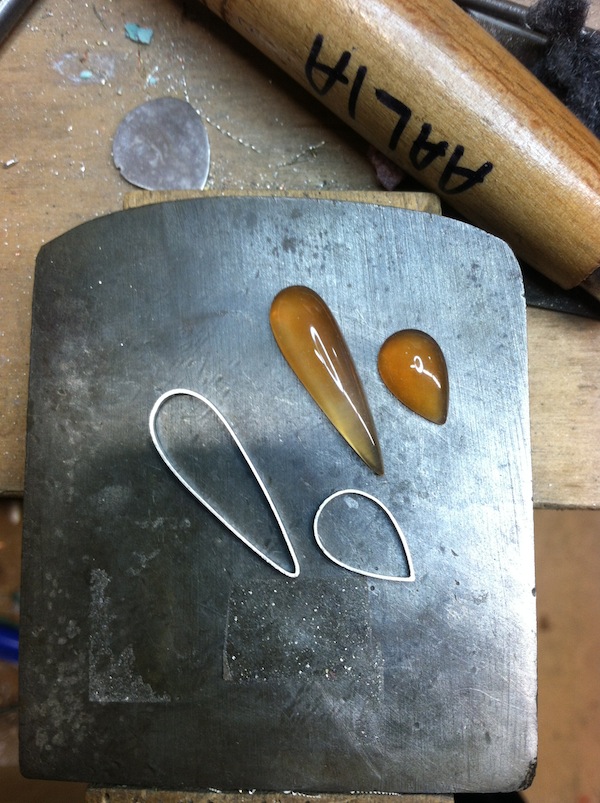
These silver strips are the bezels that wrap around the stones and eventually hold them in place. There's a lot trimming, filing & sanding involved in achieving the right bezel shape and height.
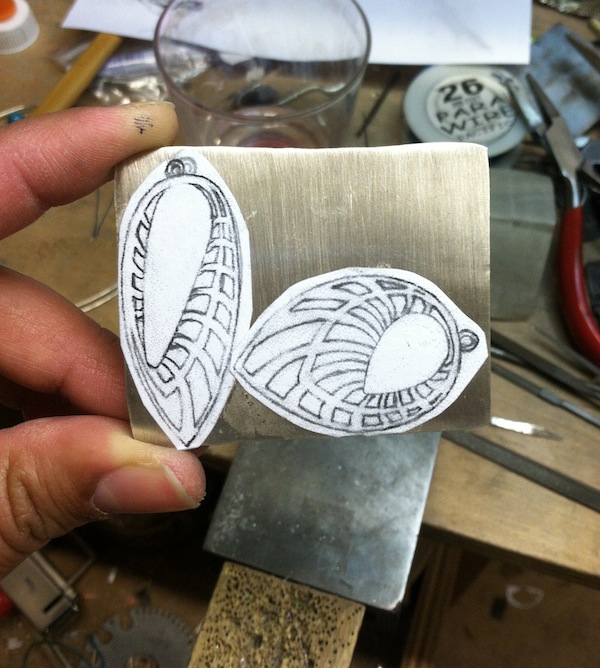
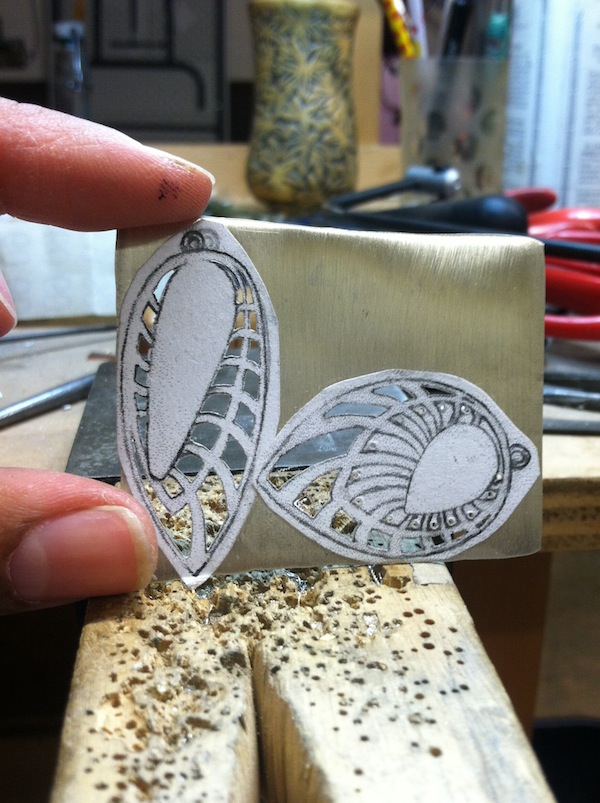
I photocopy the design in my sketchbook, cut it out and paste it directly to my sheet of silver.
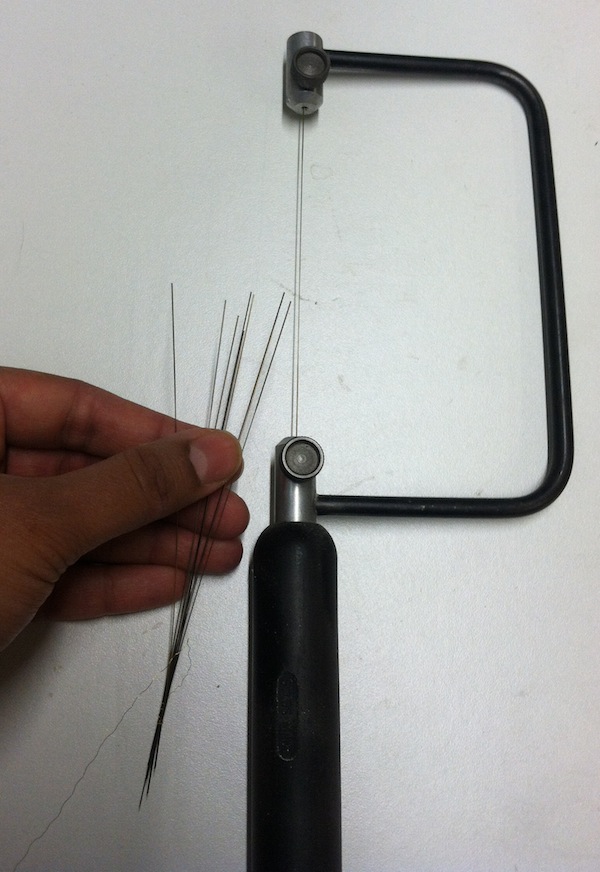
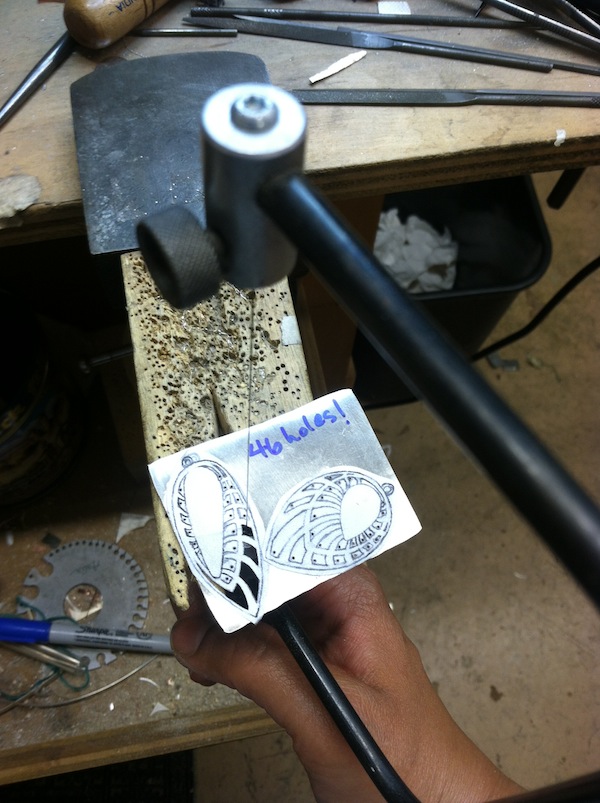
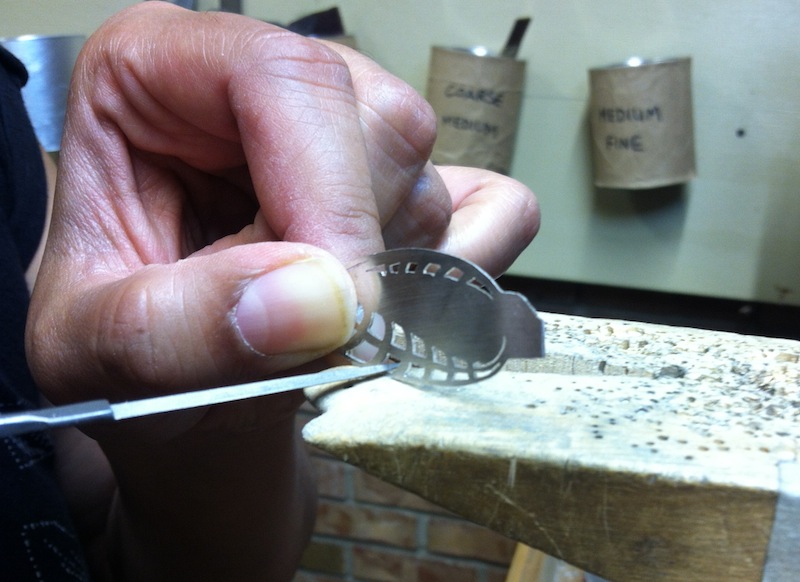
That is a hand saw. Yes, a HAND saw. No machines here. And those little things I’m holding? Those are sawblades. The best size sawblade to do this type of work is about as thick as thread.
I didn’t picture the hole drilling, but as you see, there are 46 holes drilled in each place I plan to cut out. This process is called piercing: cutting shapes out from within the metal. I feed the saw blade through the hole, secure the blade back in my saw frame, and off I go.
A few hours later...
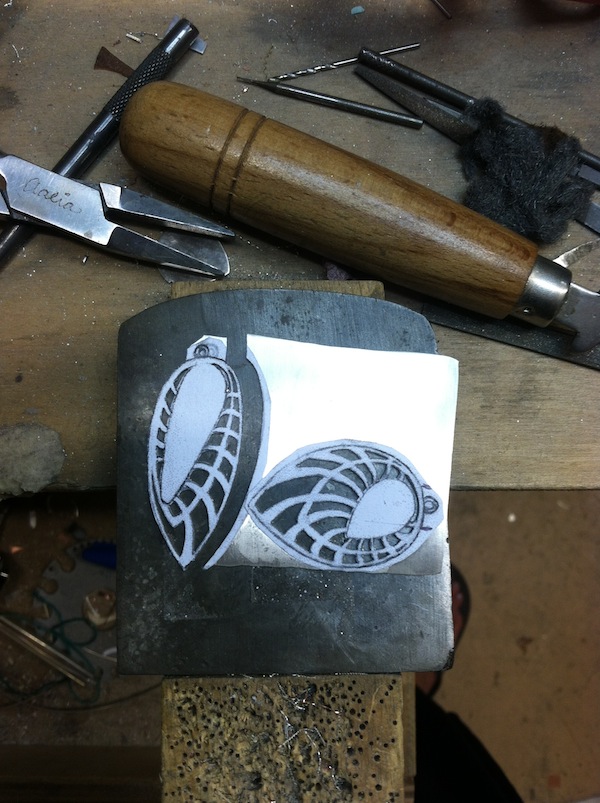
Cutting out the outside shapes but leaving room to figure out where to drill the holes for the earwires after the stones are set.
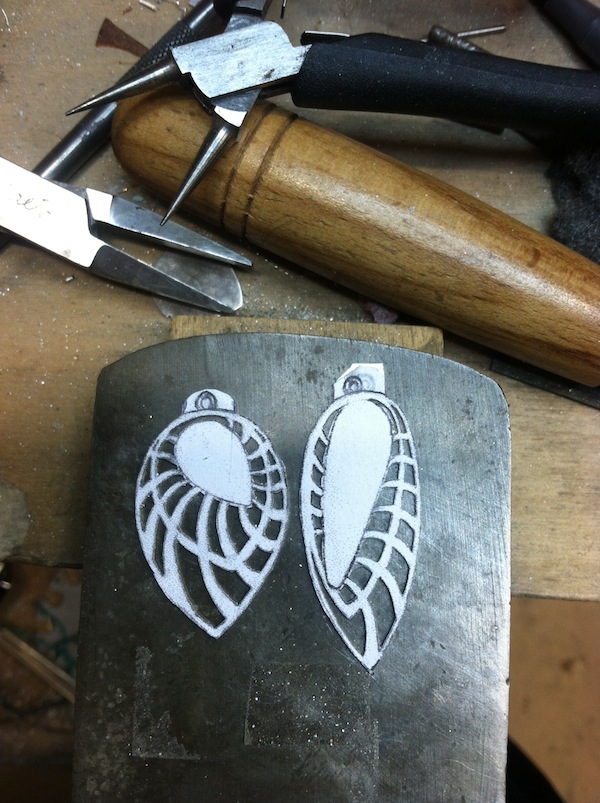
Phew! Done. Kinda.
Ugh, filing. Occasionally my sawblade may stray off course, and this is the time to clean up the bumps and inconsistencies with these itty-bitty escapement files. In jewelry there are needle files and then, there are escapement files. Aside from my sawframe, they are my favorite tools.
A couple more hours of this….
Cleaned up and the paper from the design is removed. Getting the bezels together to….
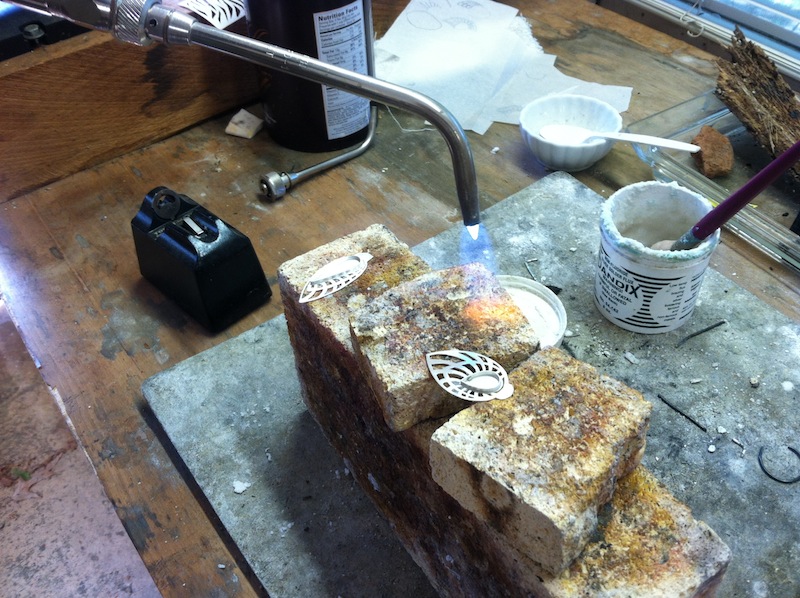
Solder them in place! Propped up on the firebrick, I position the bezel on the earring, brush flux & place little chips of solder down. Too much solder can become a miserable mess resulting in time wasted filing & sanding to clean it all up.
This is the time I start sweating. Most cautionary tales in jewelry making involve the torch: overheating and accidentally melting parts of your piece, overheating and causing firescale (a reddish stain on your sterling that can only be removed by filing and sanding), blah blah blah. So many things can go wrong here. I’m not so suave with the torch, so I always do the boxer shake-out and murmur self-affirmations before lighting it.
Heating from underneath. Inhale, 1, 2….exhale, 1, 2.
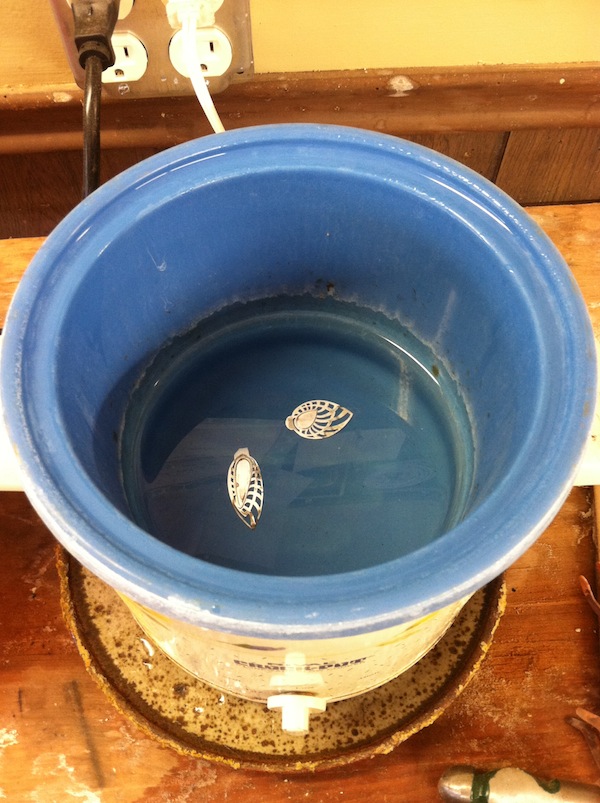
Ta-da! Thankyou, thankyouverymuch. The successfully soldered pieces are bathing in the pickle. Metal oxidizes when it’s heated & this mild acid cleans it off. It works faster when warm. Thus, the crock-pot.
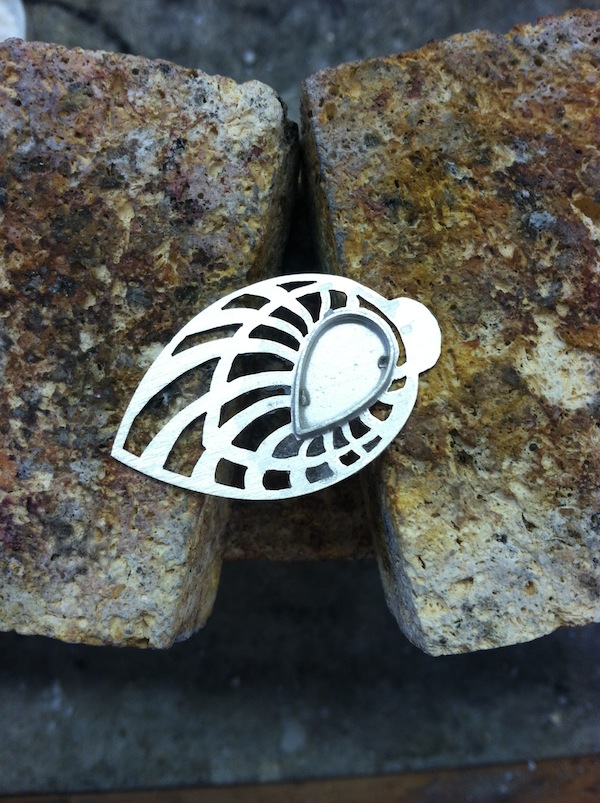
Before I was ready to set the stones, I did more clean up of the pierced sections around the bezel using my saw and files.
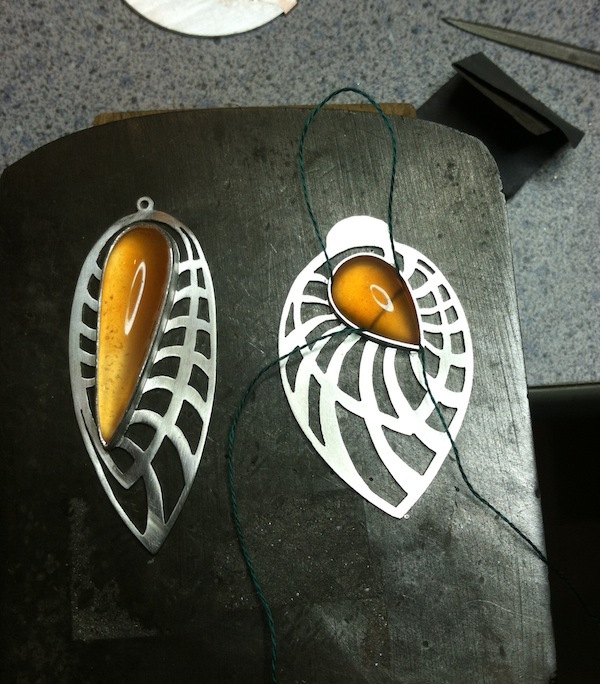
Usually I cut away the material behind a stone so I can poke out the stone should it get wedged in the setting at a weird angle. In this case, the carnelians look more vibrant with some reflective metal behind them so I kept the back solid and used the embroidery floss to pull the stone out should it get stuck. The stones fit in their settings well, so it’s time for…
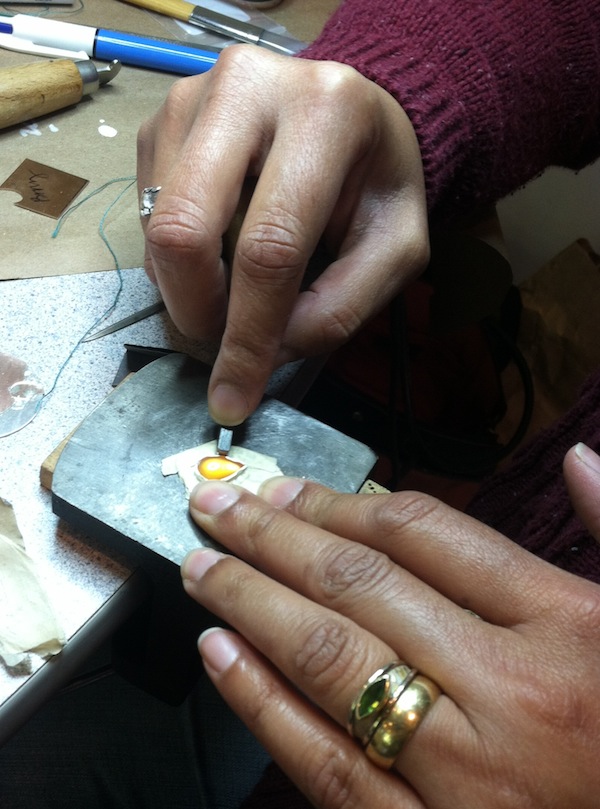
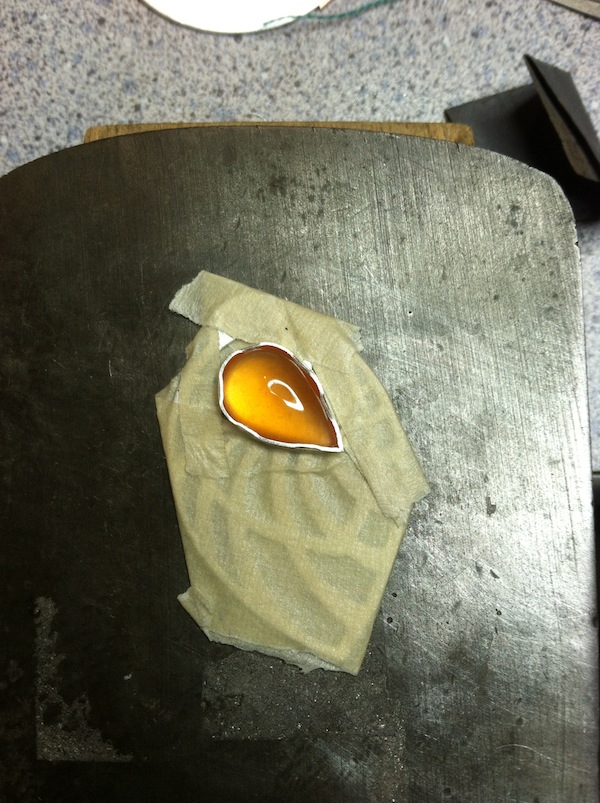
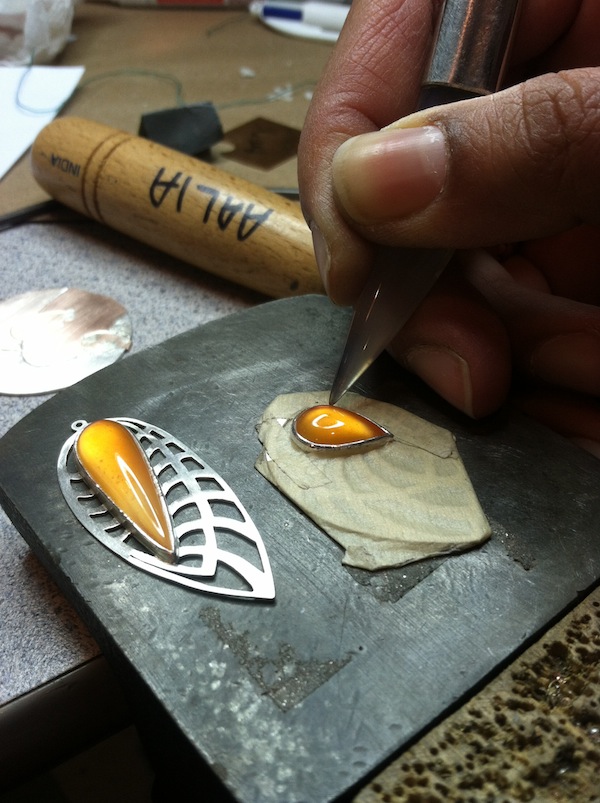
Stone setting! Here I use a bezel pusher, basically a short, square, steel rod to push the top of the bezel over the curve of the stone. I’ve covered my earring with masking tape to protect the piece from deep, soul-crushing scratches that the bezel pusher can inflict. I used to skip the masking tape because I was so eager to get the damn thing out of my face, only to screw it all up with a little slip of my hand. Silly Aalia.
Along the way with the pusher, the bezel looks something like this. Sad bezel.
You smooth out those ripples with the bezel rocker. This is also steel and can do some serious damage if you’re not careful. But oh, how it makes everything so much prettier. Happy bezel!
This agate burnisher makes the bezel even more smooth and super shiny. The stone should be secure in the setting and not wiggle one bit. Next, I figure out where to drill the holes for the earring hooks. The stones are set and an angle throwing off the earring’s center, so I drilled a few holes to figure out which one would make the earring point straight down.
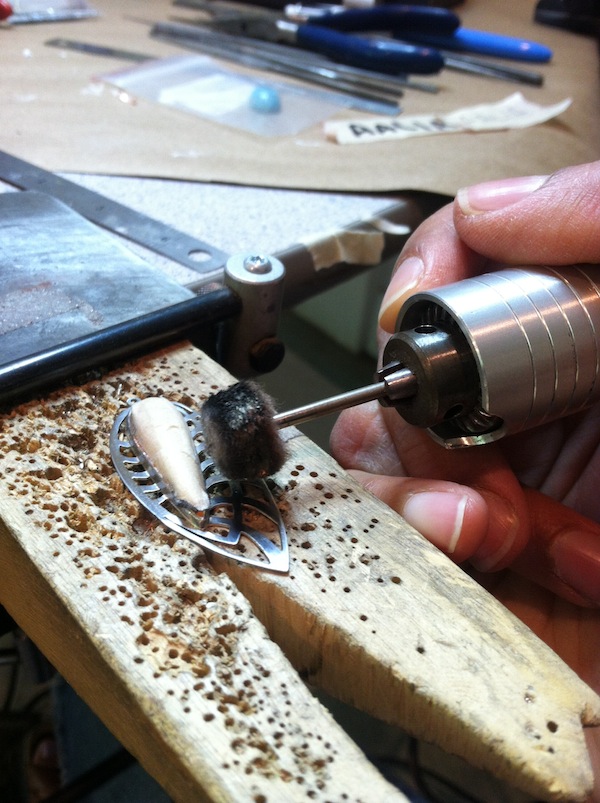
Big no-no here. I changed my mind about the finish I wanted on the metal so I buffed the sterling post stone-setting. Setting stones is The Absolute Last Step in Jewelry Making because you can so easily scratch or dull a stone with abrasives.
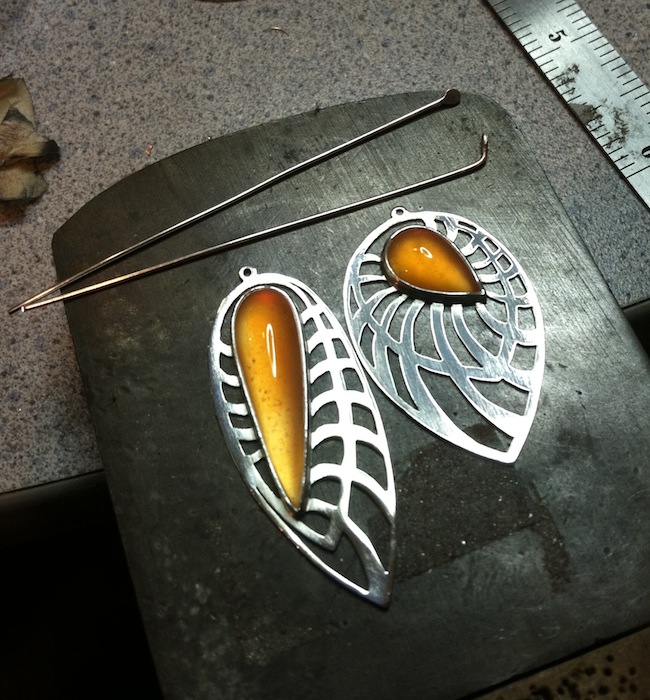
At this point, I’m home safe. Those are the earrwires. I ball up one end by melting it with my torch, hammer it into a flat disc and shape it with a file.
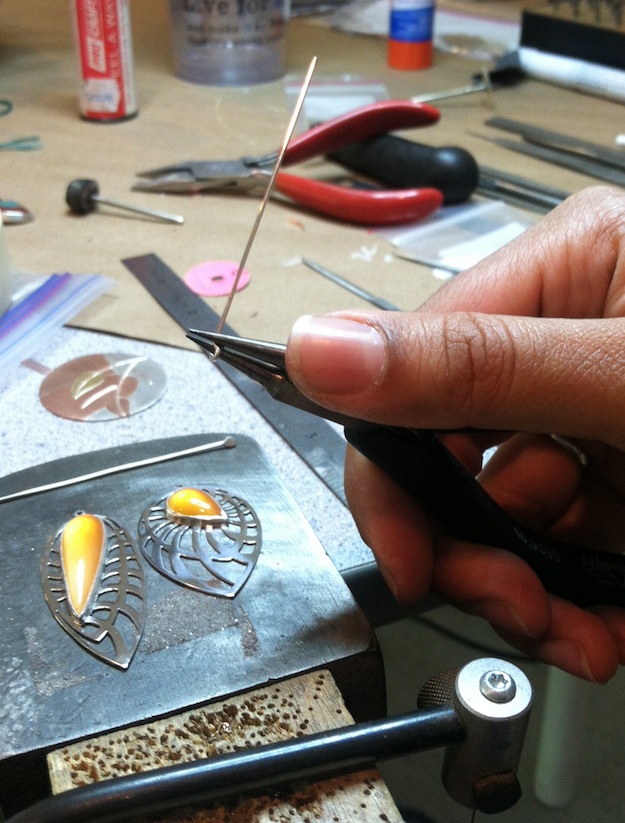
I use pliers to bend a tiny loop at the hammered end & feed it through the ring on the earring.
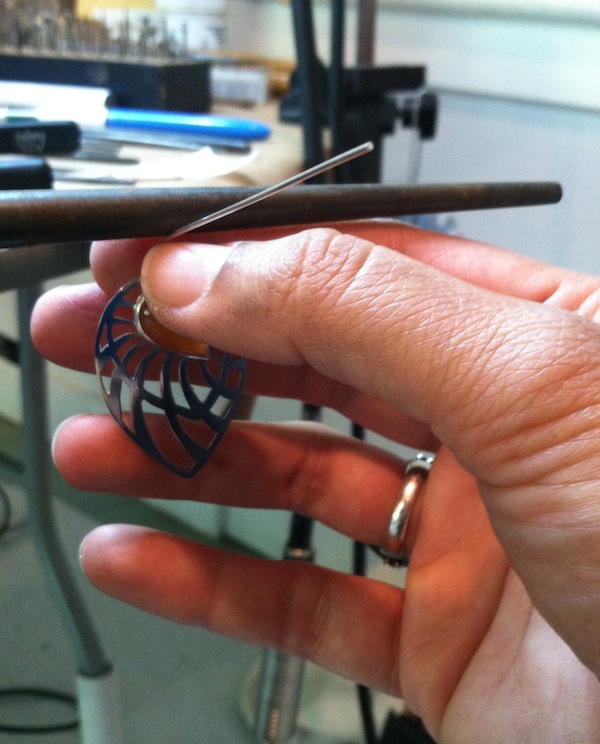
I use a mandrel as a form to wrap the wire around. This results in a nice smooth bend.
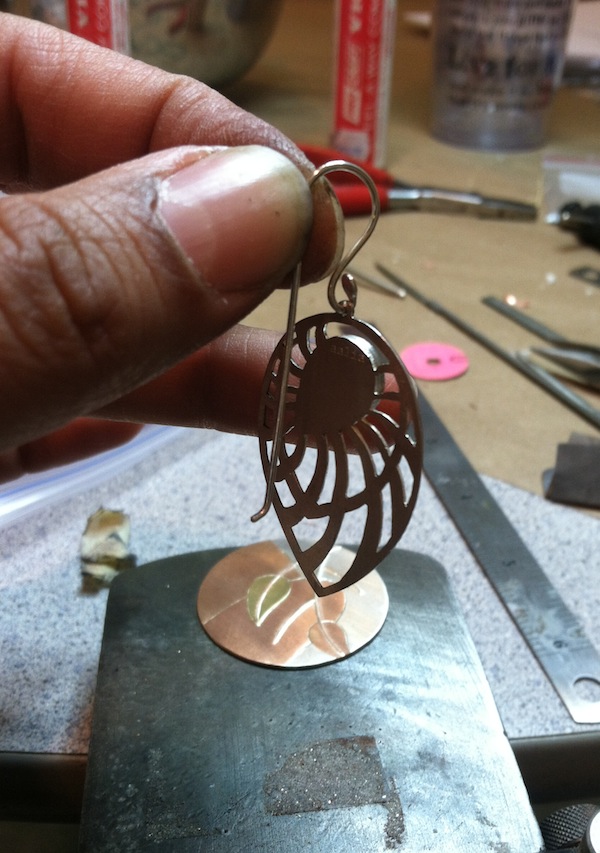
Ah, perfect. I file & sand the other end of the wire, knocking off any sharp edges so it doesn’t ream my earlobe has it passes through.
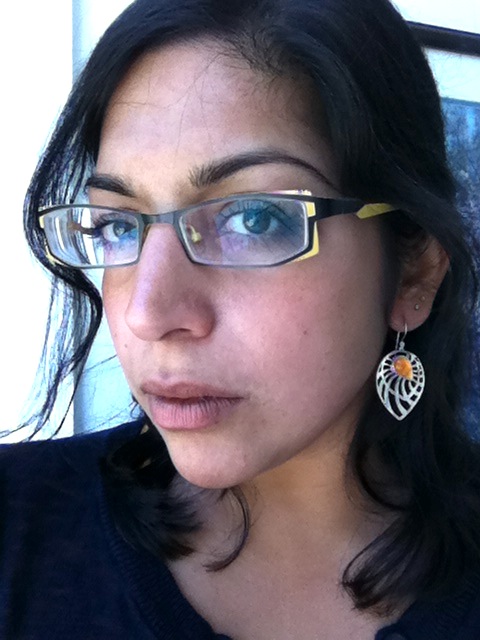
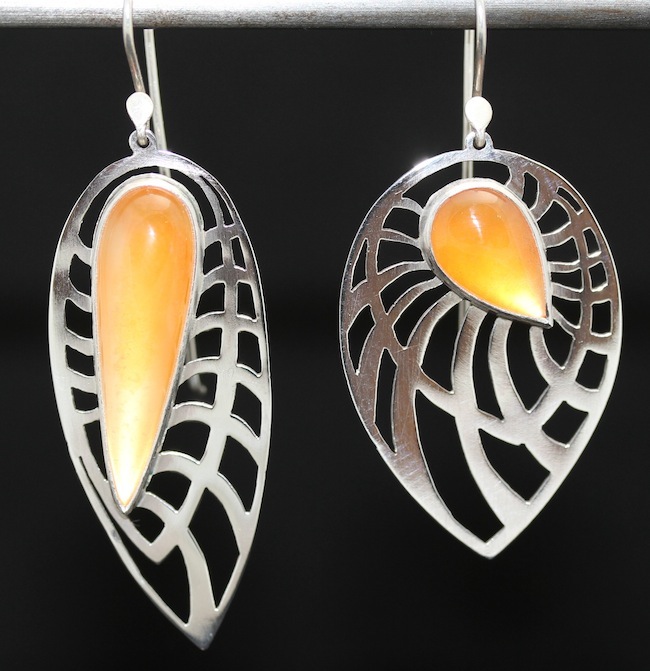
ALL DONE! I try them on, pout appropriately, make sure they hang well and are comfortable.
The portfolio shot.